Setting Up gPhoto2-Compatible Cameras
List of gPhoto2 compatible cameras
For a comprehensive list of gPhoto2-supported cameras, visit the official support page.
To be fully compatible with Captua, cameras should support all of the following capabilities: Image Capture, Trigger Capture, Live View, and Configuration.
Connect the cameras to the Raspberry Pi
- Requirements:
- 2 x USB 2.0 Type-A to Mini-B (5-pin) data cables
Many mini-B cables sold today are charge-only and carry no data lines. A charge-only cable produces no symptom on the camera and nothing on the Pi — the camera simply never appears. Two brand-new cables failed exactly this way during hardware validation (one intermittent error -71 in dmesg, then electrical silence). Use cables known to carry data, seat both ends firmly, and verify with lsusb (below) before suspecting anything else.
- Connections:
- Camera side: Plug into the middle port (marked with the USB trident icon).
- Raspberry Pi side: Plug into any USB-A port (preferably a blue USB 3.0 port).
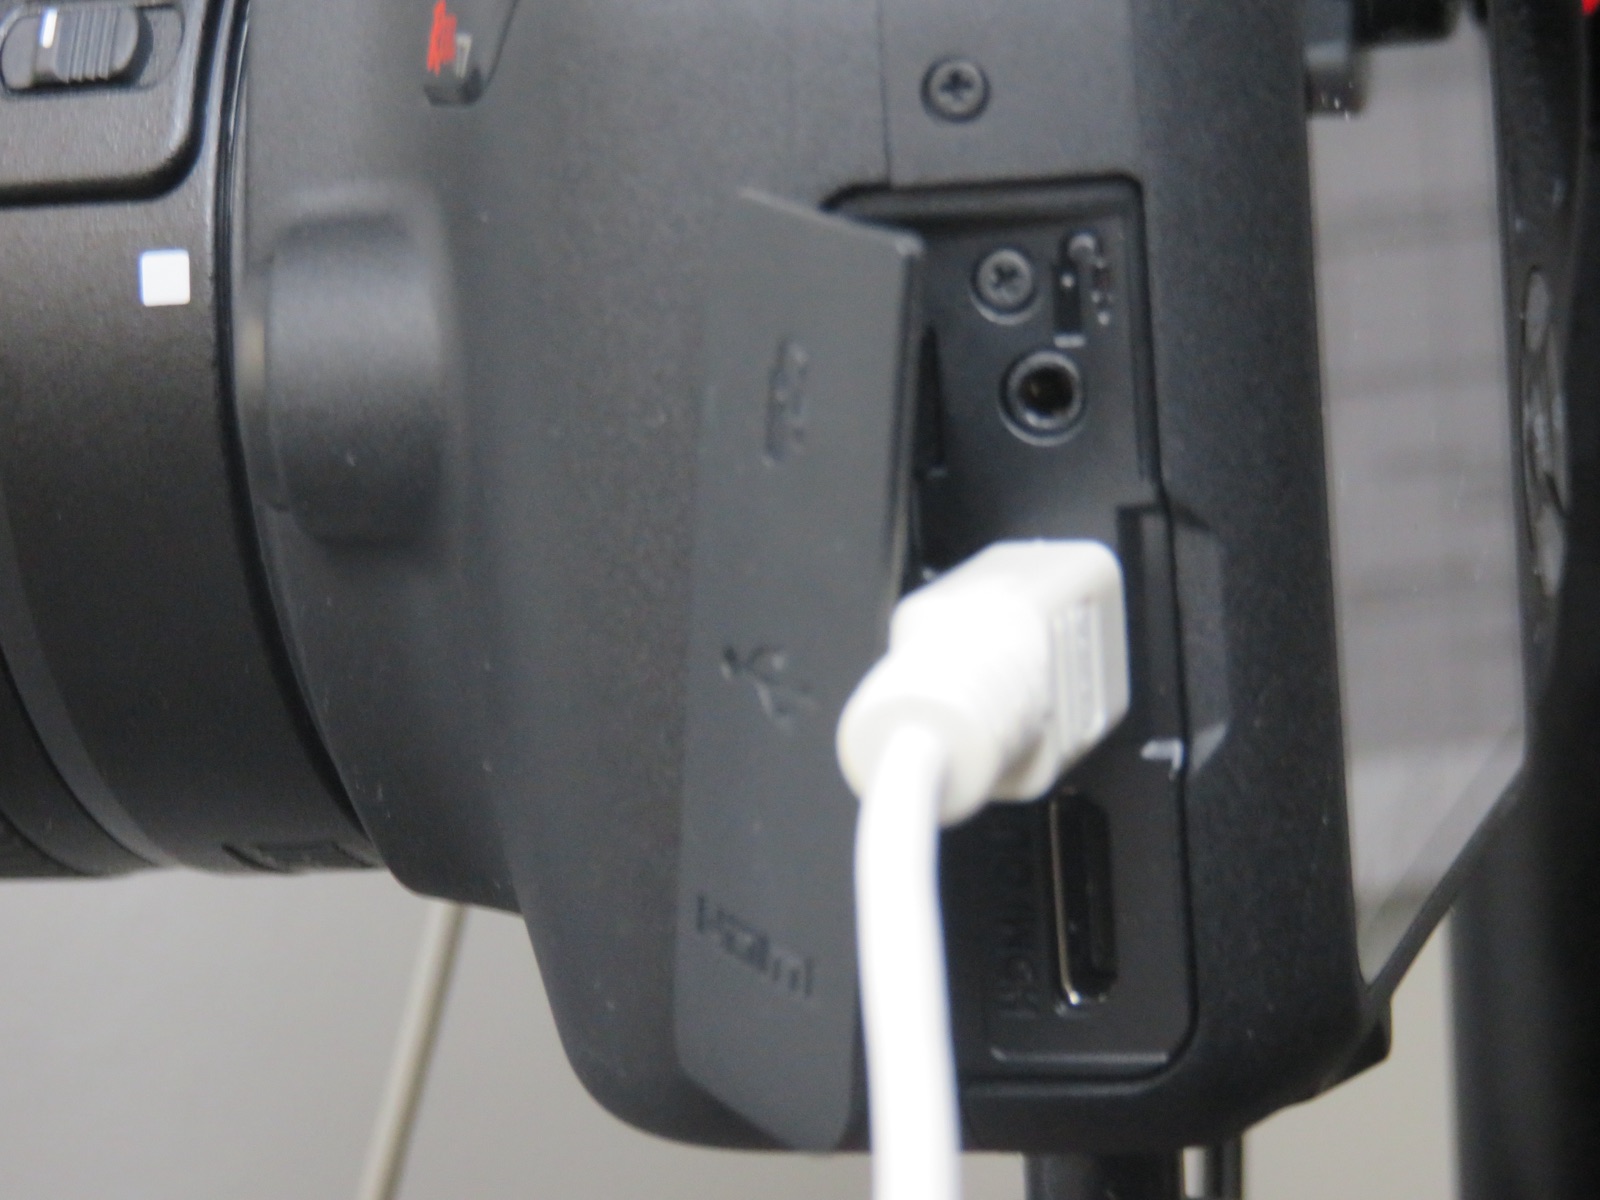
USB connection from the camera side
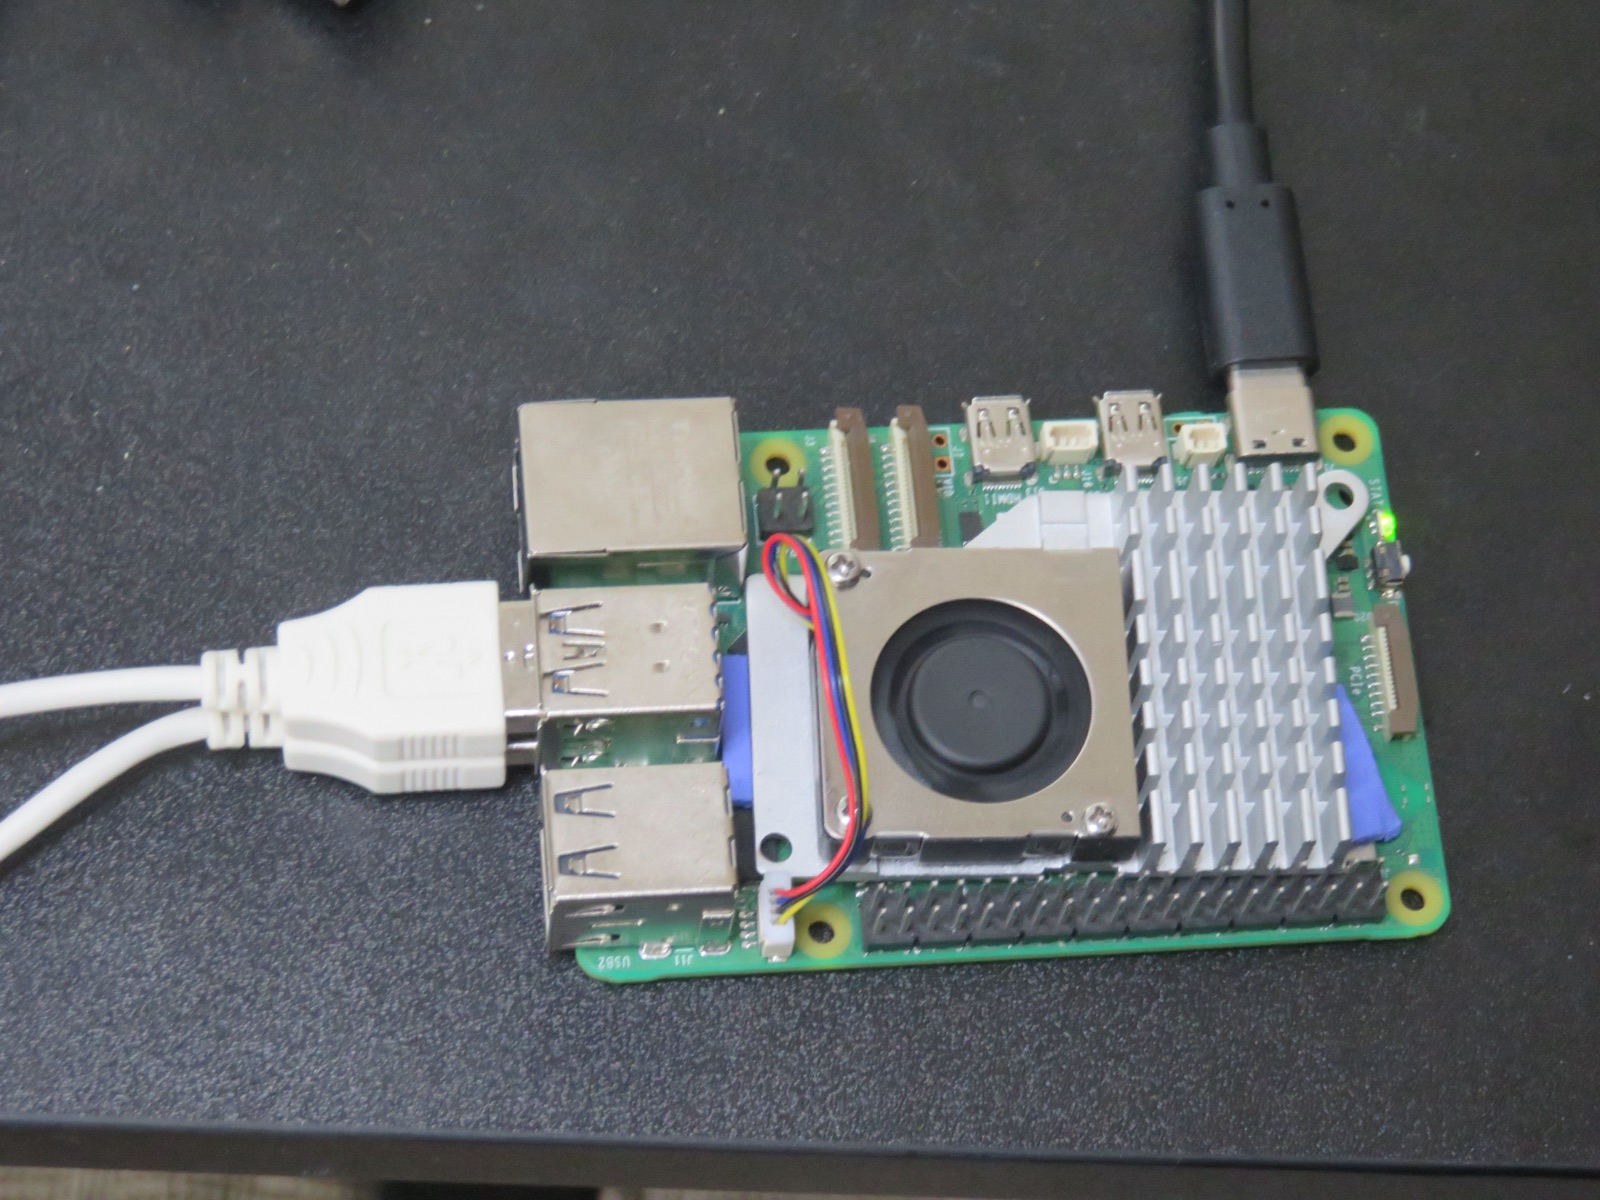
USB connection to the Raspberry Pi - dual camera setup in ports USB 3.0
Verify the connection
With both cameras connected and switched on, run on the Pi:
lsusb                  # expect one "Canon, Inc." line per camera body
gphoto2 --auto-detect  # expect both cameras listed
If a camera is missing: reseat both cable ends, power-cycle the camera body, and check dmesg | tail — repeated error -71 messages point to a bad cable or a poorly seated plug; total silence with a powered-on camera points to a charge-only cable.
Select the gPhoto2 backend
The backend defaults to CAMERA_BACKEND=picamera2, which looks only for the Pi’s own ribbon-cable sensors, and the appliance’s setup does not change that. With the default, the interface shows no DSLR cameras even when gphoto2 --auto-detect lists both. Confirm that the appliance’s .env file (at the project root) has:
CAMERA_BACKEND=gphoto2
and then restart the backend service so it takes effect:
sudo systemctl restart dtk
Canon EOS Rebel T7
- Set the focus mode to “Manual Focus”: On the lens switch, set the focus mode to MF (Manual Focus).
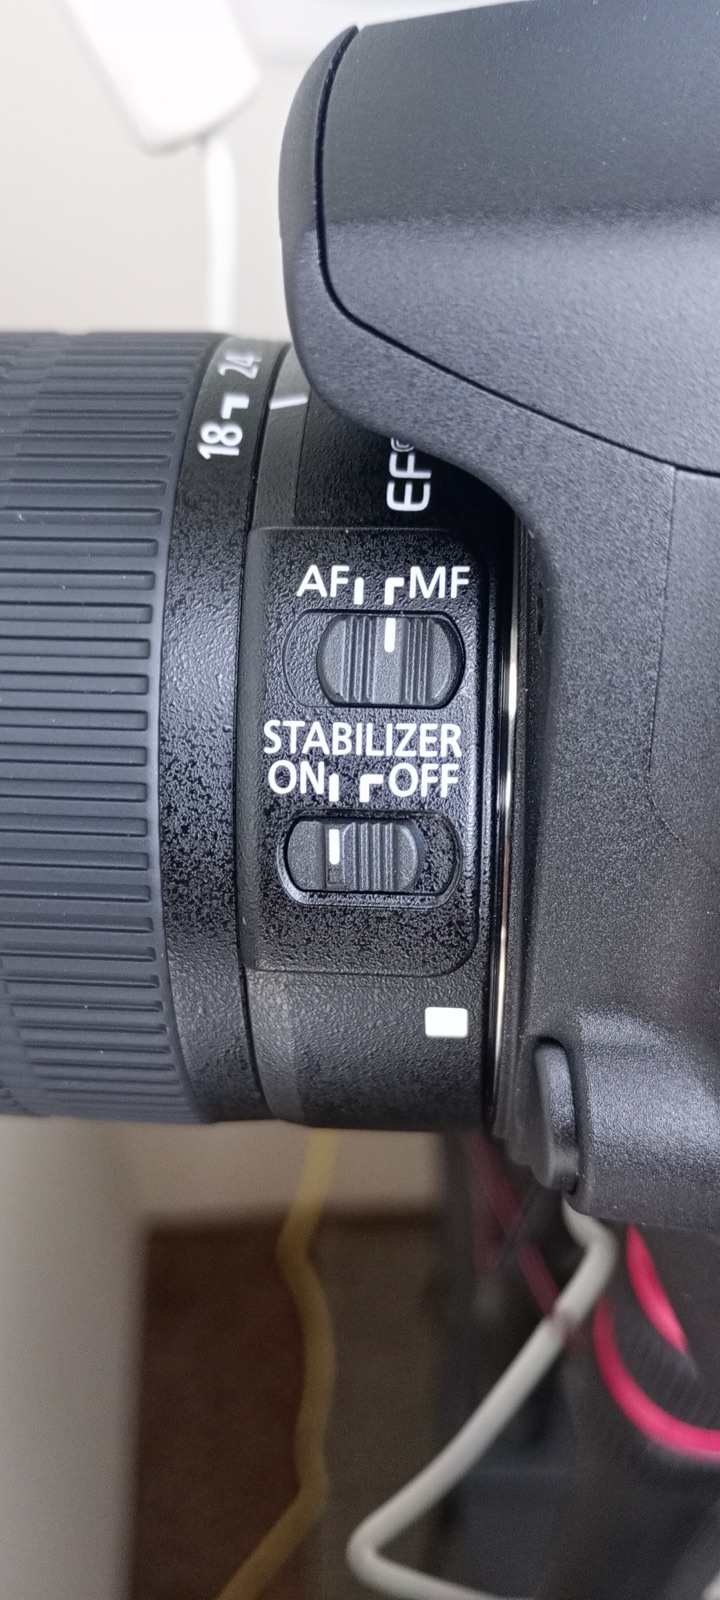
Canon EF-S 18-55mm lens attached to a DSLR camera body
- Set the mode to Manual: rotate the mode dial to M (Manual).
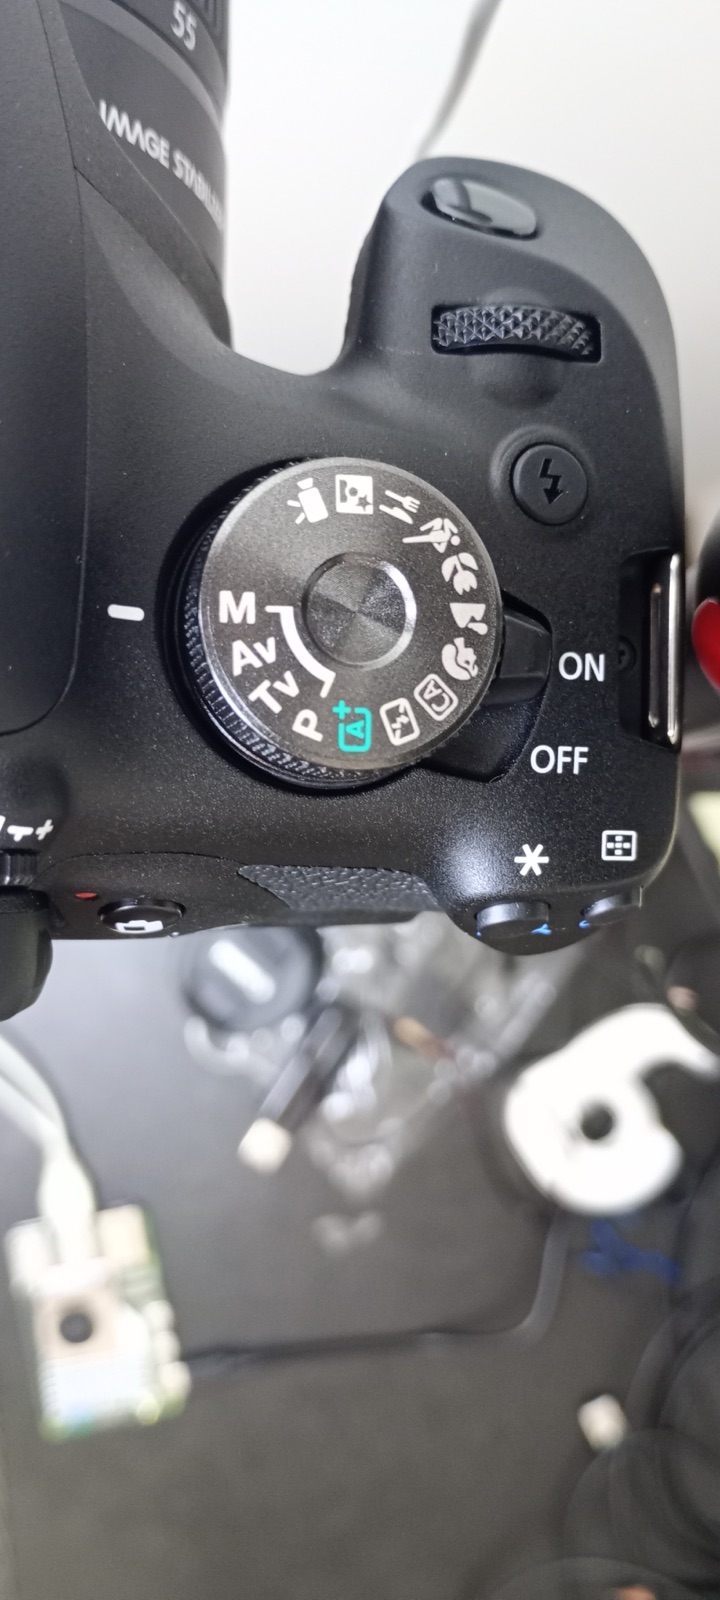
Canon EOS camera mode dial in manual mode
- Retract the built-in flash: If the flash pops up after turning on the camera, push the flash head down into the closed position.
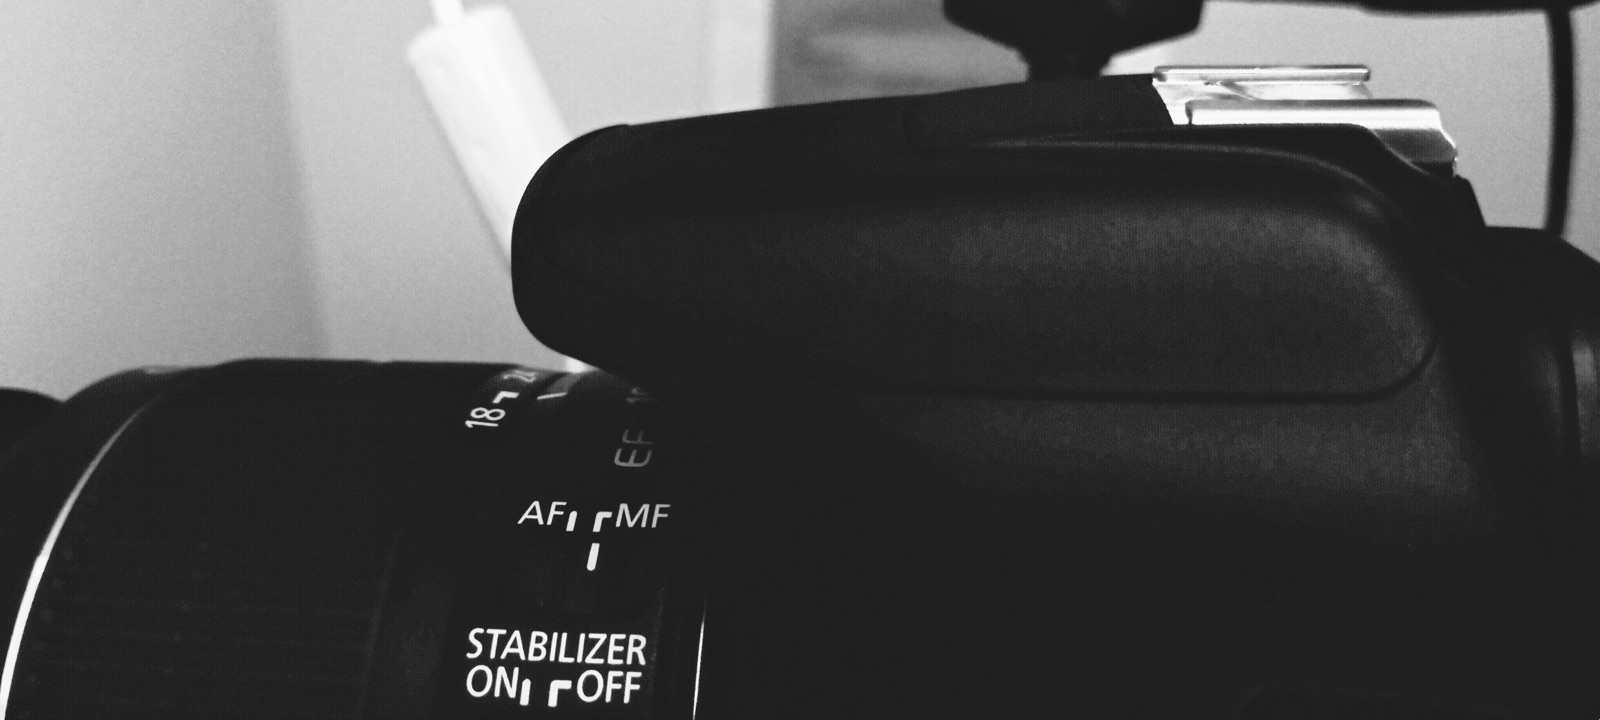
Canon EOS camera built-in flash in closed position
- Set Auto power off: From the camera menu, find the Auto power off setting and set it to 15 minutes.
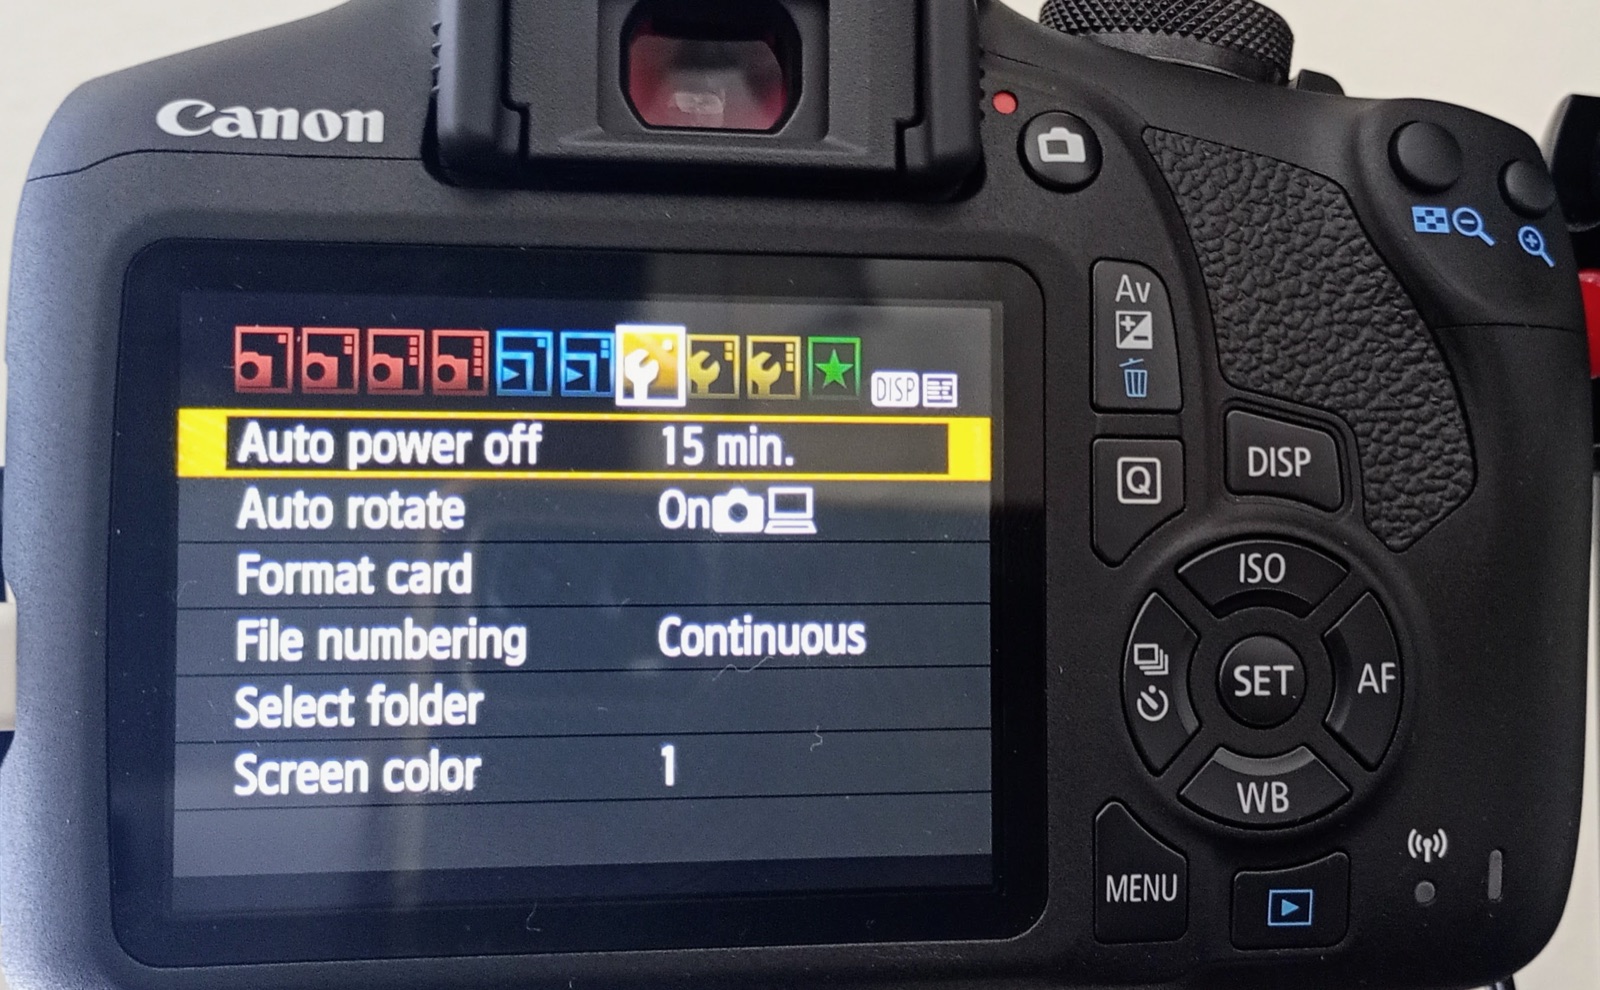
Canon EOS camera menu screen auto power off
When the software opens a session on a body, which happens on the first preview, capture, or settings read after the body is switched on, it attempts to switch the body’s Auto power off setting off so the camera cannot sleep mid-session; it never powers the camera off itself. Until a session has been opened, the body’s own setting applies, so a body that sat idle before the first preview of the day may already have left the USB bus. The software does not restore Auto power off when it closes a session, so after any shutdown of the service or the Raspberry Pi, not only a crash, the camera can stay on until you switch it off by hand. If the camera menu then shows Auto power off as disabled, set it back to 15 minutes.
When Auto power off fires, the camera does not just sleep — it drops off the USB bus entirely (lsusb no longer lists it), and the software cannot wake it: a slept body looks exactly like a disconnected one, and the interface will show the camera as not connected. To bring it back, half-press the shutter button on the camera, wait a few seconds for it to re-enumerate, then press Reconnect cameras in the interface (on the camera panel of Overview or in the live preview controls). The same action recovers a body whose USB cable was reseated. Keep this in mind before unplugging anything or restarting services.